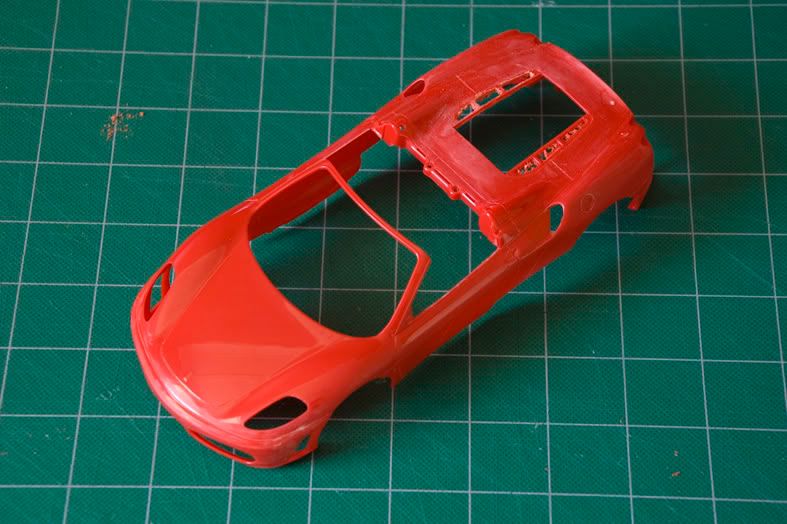
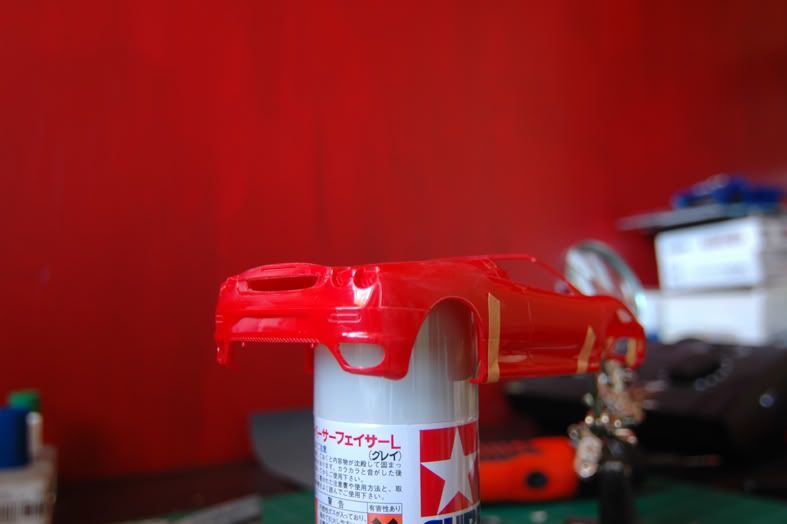
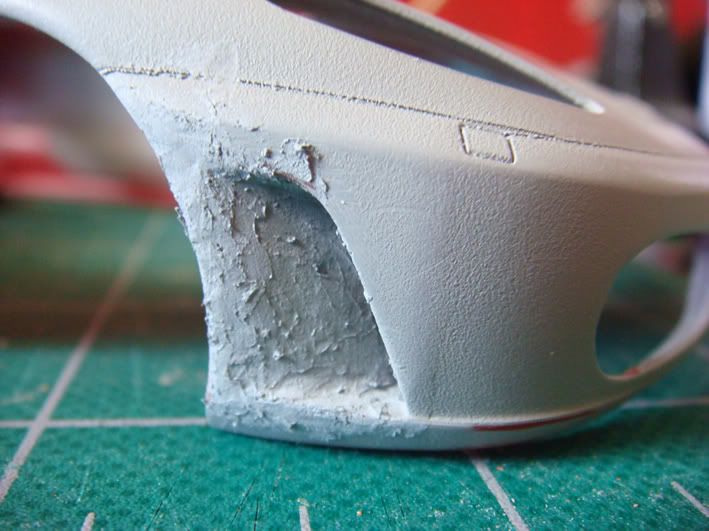
aklabcnz 发表于 2013-5-30 21:28
从第一张图看,模型制造商制作的模具很差!但从LZ的制作水平来看,可以慢慢修正过来,期待最终成型后的图片 ...
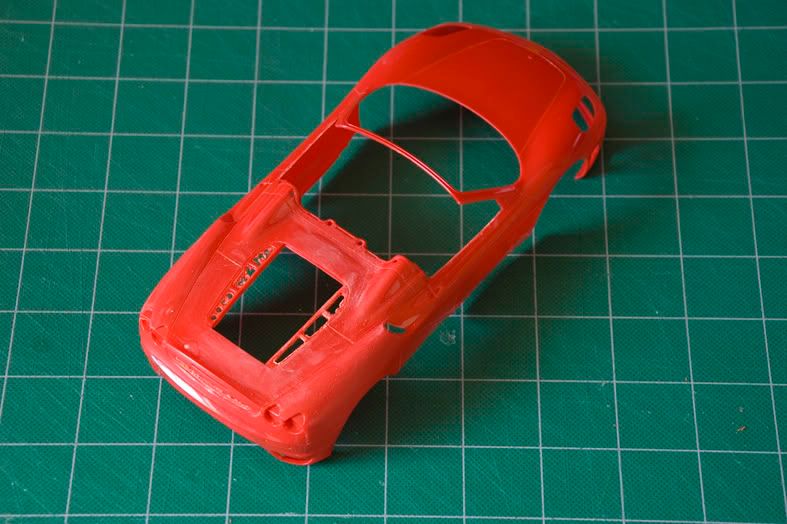
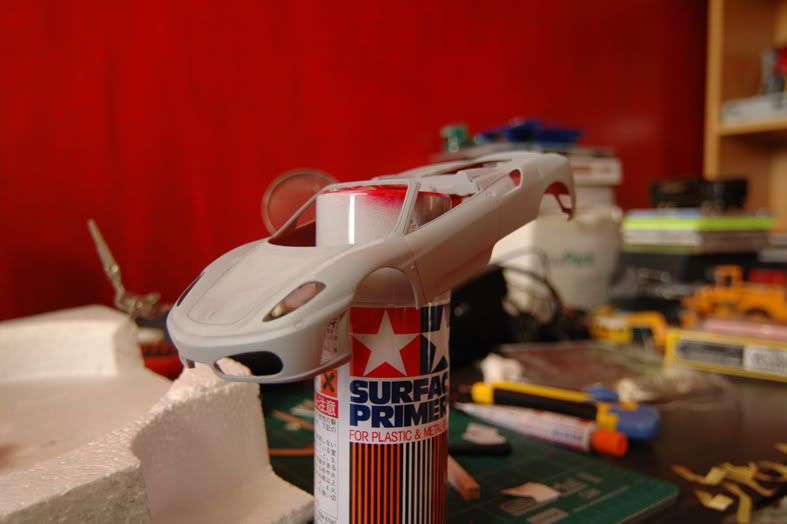


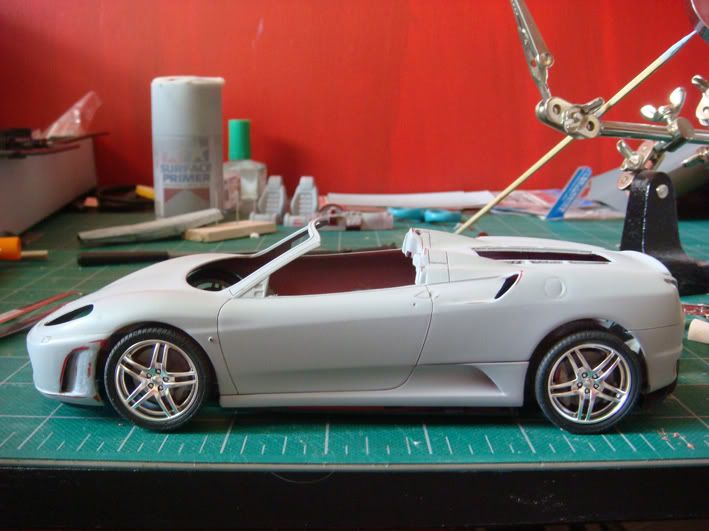
 GUN METAL.
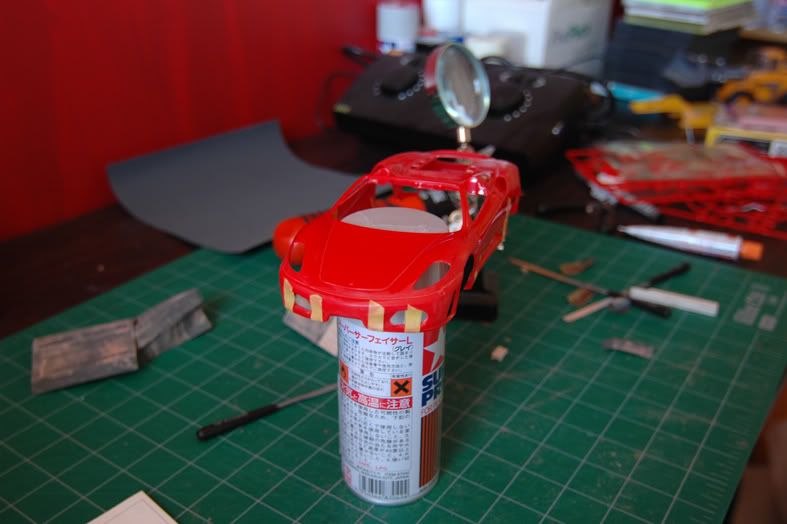


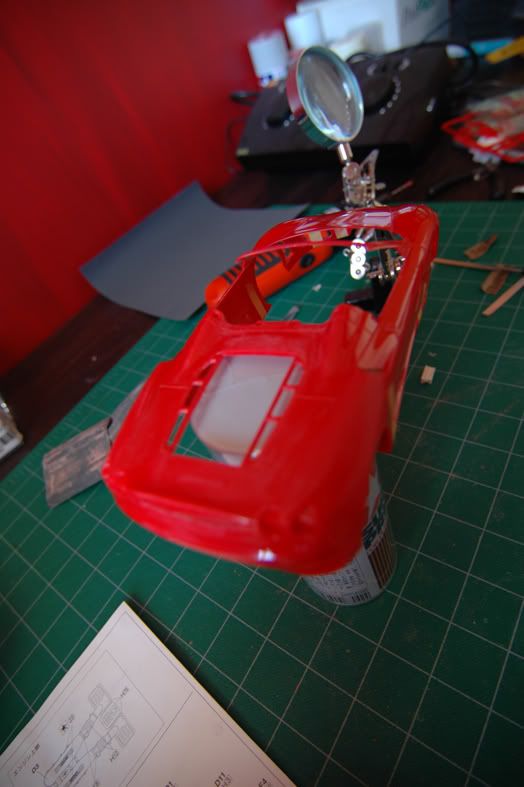
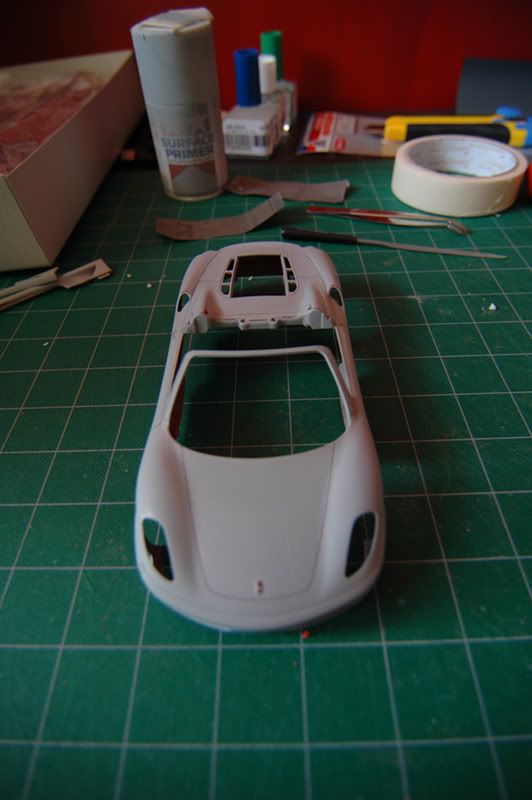
aklabcnz 发表于 2013-5-30 21:28
从第一张图看,模型制造商制作的模具很差!但从LZ的制作水平来看,可以慢慢修正过来,期待最终成型后的图片 ...
| 欢迎光临 新西兰天维网社区 (http://bbs.skytrade.co.nz/) | Powered by Discuz! X2 |
